Thursday 5 February 2015

Videogame Storytelling a new resource

I know I haven't blogged on here for a loooong time and there are reasons for that, that I can't go in to. But I'm back and will be posting more regularly from now on. So to start things off I wanted to bring your attention to a blog post about storytelling in video games on the Gamasutra website called "Video Game Storytelling: From Tutorial to Book, and Back Again" by Evan Skolnick (Click here to read). I skimmed read the article and based on that I ordered the book by the author.

The book only just arrived this morning, but based on the blog post this has the potential to be one of the books that will need to be added to the reading shelf of all those that teach game design, and to the library for students to read. I'll do a full review later once the book has been read, I just need to finish off a book about the Stuxnet virus and a collection of essays about girls and gaming.


Tuesday 21 October 2014

Character Activity Sketchnotes

Thought I would share my sketchnote activity sheet I'm going to try in the next game design lesson. Usually I'll put this up on our VLE for reference just as text but thought I'd try and present it differently this week. So I'll print out copies for the students (double sided) and have the images embedded in a page on the VLE also.
It will be interesting to see what sort of feedback I get from the students presenting the activities this way.
The activities themselves work for me as they get the students to look at existing characters within video games, but also get the students creating their own characters using a variety of methods. Activity one is the sort of thing I want the students to ask themselves when they do their first assignment when reviewing a video game. While the remaining exercises as I just said are about creating characters from scratch. Something they will have to do for their game they will be designing. So I'm hoping these will be helpful exercises they can revisit.
Anyway below are the scans of the sketch notes (although rather wordy) for the lesson.


Sunday 12 October 2014

Flipped Learning Update 2

In the initial update I did on flipped learning I forgot to mention unintentionally I had turned the game design unit, Unit 40 into flipped learning also.

The way this is running is that the students read the directed chapter of Level Up! By Scott Rogers before the lesson, make notes while reading. (A minority are doing this, but need a way to get rest to do so. However this seems to be a problem whether at home or in class across the board students don't like making notes!) Then in class we will do activities based around the chapter they have just read. Such as research the definition of what a game is using the books in the library (there is a similar exercise on what a mechanic is). Or I will select an appropriate activity from the Game Designers Workshop, or one of the other books I have. These activities can have them reflecting on a particular aspect of a game they have played, brainstorming game ideas, prototyping etc. I will also provide students with hand outs of optional further reading on that weeks subject for those that are really interested in the subject.

For example this week we started looking at story in video games. So before the lesson the students would have read level 3 of Level Up! (Chapters are called levels in the book). In the lesson the activities were the following:

  • Using Story Cubes write a short story that begins "Once upon a time..." - the story only had to be about a paragraph. However a related this back to brainstorming and using this as an exercise that could be used to help generate ideas.
  • Next they then did an exercise from the Game Designers Workshop that had them reflecting on the story of a recently played game, and what was broken about it, and how they could fix it.

I also handed out some information on story arcs,an article on using environment to tell story, and embedded some videos on the units VLE page that dealt with the Heroes Journey. The story arcs material will be the basis of the next lessons activities.

For me running unit 40 this way is the ideal way to run the unit. The dry theory is done outside the class, and creative fun stuff is done in class. We are able to concentrate on brainstorming as individuals or groups, there is plenty of opportunity to prototype games and mechanics, we are able to build confidence in standing up in front of people and present our ideas. For me game design is about ideas and creating. Within the class we apply the theory not just in looking at games we have played, but also in creating our own ideas.

The other thing I forgot to mention in that initial post was although at the time I didn't know it I'd already been thinking about sketchnotes and visual note taking, back in April/May time cartoonist Martin Shovel (I follow him on Twitter) announced a workshop aimed at communicators (http://www.creativityworks.net/training/cartooning-for-trainers/) the same week as the Develop conference in July. This was something I would loved to have done. Go look at the link If you haven't already. Learn to draw cartoons! Count me in. Well if scheduling and an external moderator visit hadn't clashed with the day it was held, and me not having the cash handy to pay for it (somehow don't think my bosses would see the benefit of this to pay) I'd of been there. Why? I want to be able to "spice" up my slides, worksheets, notes etc so they are more interesting for the students. Cartoons I think are the ideal way of doing this. Instead of trying to find that just right image, draw a cartoon to illustrate the point. Plus the cartoon may be the thing that helps the student understand the point where the words didn't. I will go to one of these, I'm determined to get to one.

So there you have it the forgotten stuff from the initial post on flipped learning. How I am also using it in game design, and a little of my philosophy of teaching it, and how I had already started to think about visual notes. Hope that this was also useful.

PS in a future post I share some of the resources I use for this unit.


Friday 10 October 2014

Flipped Learning Update 1

In a previous post at the start of the Summer holidays I wrote a post about how I was going to give flipped learning a try in teaching programming to my year 1 level 3 students. The idea was that it would help the students in learning to program, encourage them to practice outside of the classroom, and allow the actual class time be spent on helping those students that need support and answering questions.

Towards the end of the Summer I got a moleskin notebook to use for recording notes about flipped learning, ideas, and a journal. And this is proving a useful thing to have handy. However my reading on the subject of flipped learning quickly expanded to included sketchnotes (visual note taking). I was particularly interested in this for use in the planned videos for explaining concepts and stuff in a hopefully visually way that would be more accessible for students. The outcome of this avenue of study is that I now have a small library load of books on this subject, and a need to allocate time in the day to expand my visual library. As part of my readings on the subject of flipped learning and improving my teaching of programming I have been reading Reflections on the teaching of programming: methods & implementations by Jens Bennesden, Michael E Caspersen and Michael Kolling. One of the initial articles in the book titled "Exposing the programming process" by Bennesden and Caspersen talks about process recordings which is basically a screencast of the development process with a tutor talking through their thought process while they tackle a programming problem. Which using teacher talk would be modelling. This is exactly what I aim to be doing with some of my planned videos.

In the flipped learning books I have (Flip Your Classroom, and Flipping 2.0) there is some great stuff on why, and recording sessions, and one of them goes on further taking the flipped learning to a Master model. However I found both books weak on the how to use the extra time in class, especially as I don't intend to implement the Master model of flipped learning. It took me a little while to get inspiration for what I would do with the timetabled lessons and how I would run them. However I did think of a format (ish) for the lessons which you can see with my illustrative journal/notebook entry above.

Before I started flipping the lessons I created a quick google form for the students to complete that looked at their previous programming experience, and their mindset. I followed this up with the students doing a test aimed at trying to determine a students aptitude towards programming. I want to try and use this data to see if there is a correlation between this initial data and how the student progresses learning to program.

My first video went up on variables in C# this week. This was a nightmare to produce. I've not really found an app that I like on the iPad (dislike Explain Everything and Videoscribe) for producing a "sketch cast" of my visual notes that produces a video that can be uploaded to YouTube. Although I believe that with Yosemite on the Mac I can record my iPads screen. Which would mean I could use Adobe Ideas to produce my sketch notes and record the process on my Mac. However that wasn't available so I had to resort to drawing the notes on a sheet of A3 paper (The photo at the top of the post is the finished notes), taking photos at key points, putting those photos into a presentation and then screen recording the presentation on the Mac using QuickTime Player and capturing my voice talking through the presentation. For the voice recording I had bought a Blue Snowball external USB mic, which on the default setting gave me a low volume and very static filled recording, while on the second setting although no static, the volume was still very low. I wasn't happy with this and need to investigate why this is happening. But at the time I had no time to do this, and resorted to using the inbuilt microphone of my Mac. The finished result isn't brilliant but just about passable. Once the teething problems have been sorted, time permitting I'll revisit these early efforts and "improve" on them.

The feedback has been mixed, the main negative comments were about production values, pauses and my voice! Well I am a bit monotone. One student asked if they could have a copy of the final A3 sheet, seeing as they were the only one to ask I gave them the original. Positive comments included that they liked the short length of it, and they thought it explained things well.

I know some of the students only watched the video in the break before the lesson. I need to get this corrected, as they are not getting the most out of this style of learning. They are definitely not making notes to refer back to later.

Anyway I think that sums the current state of play. I hope it hasn't been too dry, and there is some useful info buried in here somewhere for you.


Wednesday 24 September 2014

Show 'n Tell

I know first post in a while, well it was the holidays and well no excuses I didn't have anything to say.

Anyway since the academic year has started again, the initial chaos of inductions over, and teaching well under way I thought it was about time I returned to blogging.

Over the last couple of weeks I've been hitting ebay to build up a collection of the old home computer manuals I used to have. Why would I do this? Apart from reliving my beginning days of learning to program! I wanted to put together something to take in my new level 3 students to show how I got started. To show them what my first computer was like, that we had manuals! The manuals taught you how to code. To give them a glimpse of learning to program before the age of the Internet.

These three basic games books are mine from back in the day.

Sadly no power supply or cables but a ZX81 with a 16KB RAM pack.

I'm going to spend the weekend evaluating some emulators - especially the ZX81 and BBC micro ones. If they look promising I'll get them installed and run a "retro" programming session with the students too. Which reminds me the Computer Museum in Cambridge (well worth a visit) runs a BBC micro programming session I wonder if they will share their resources. Must ask when I'm there tomorrow night.

Hopefully the students will find this interesting. I think it will add a bit more colour and reality to the "when I was a lad" or "you youngsters don't know you're born" stories about the "golden" days of home computing in the UK.


Thursday 17 July 2014

Raspberry Pi B+

Despite a little leak on the internet on Sunday, for most of the world it was still a pleasant surprise to wake up on Monday to the announcement that the Raspberry Pi folks had released a new version of the Raspberry Pi called the B+.

The B+ (if we discount the couple of special edition Pi's that had coloured mother boards, blue and red I think) becomes the third version of the model B (256MB, 512MB being the earlier versions) to be released and the fifth version of the Pi (model A, Model B, Compute module).

So what is new about the B+?

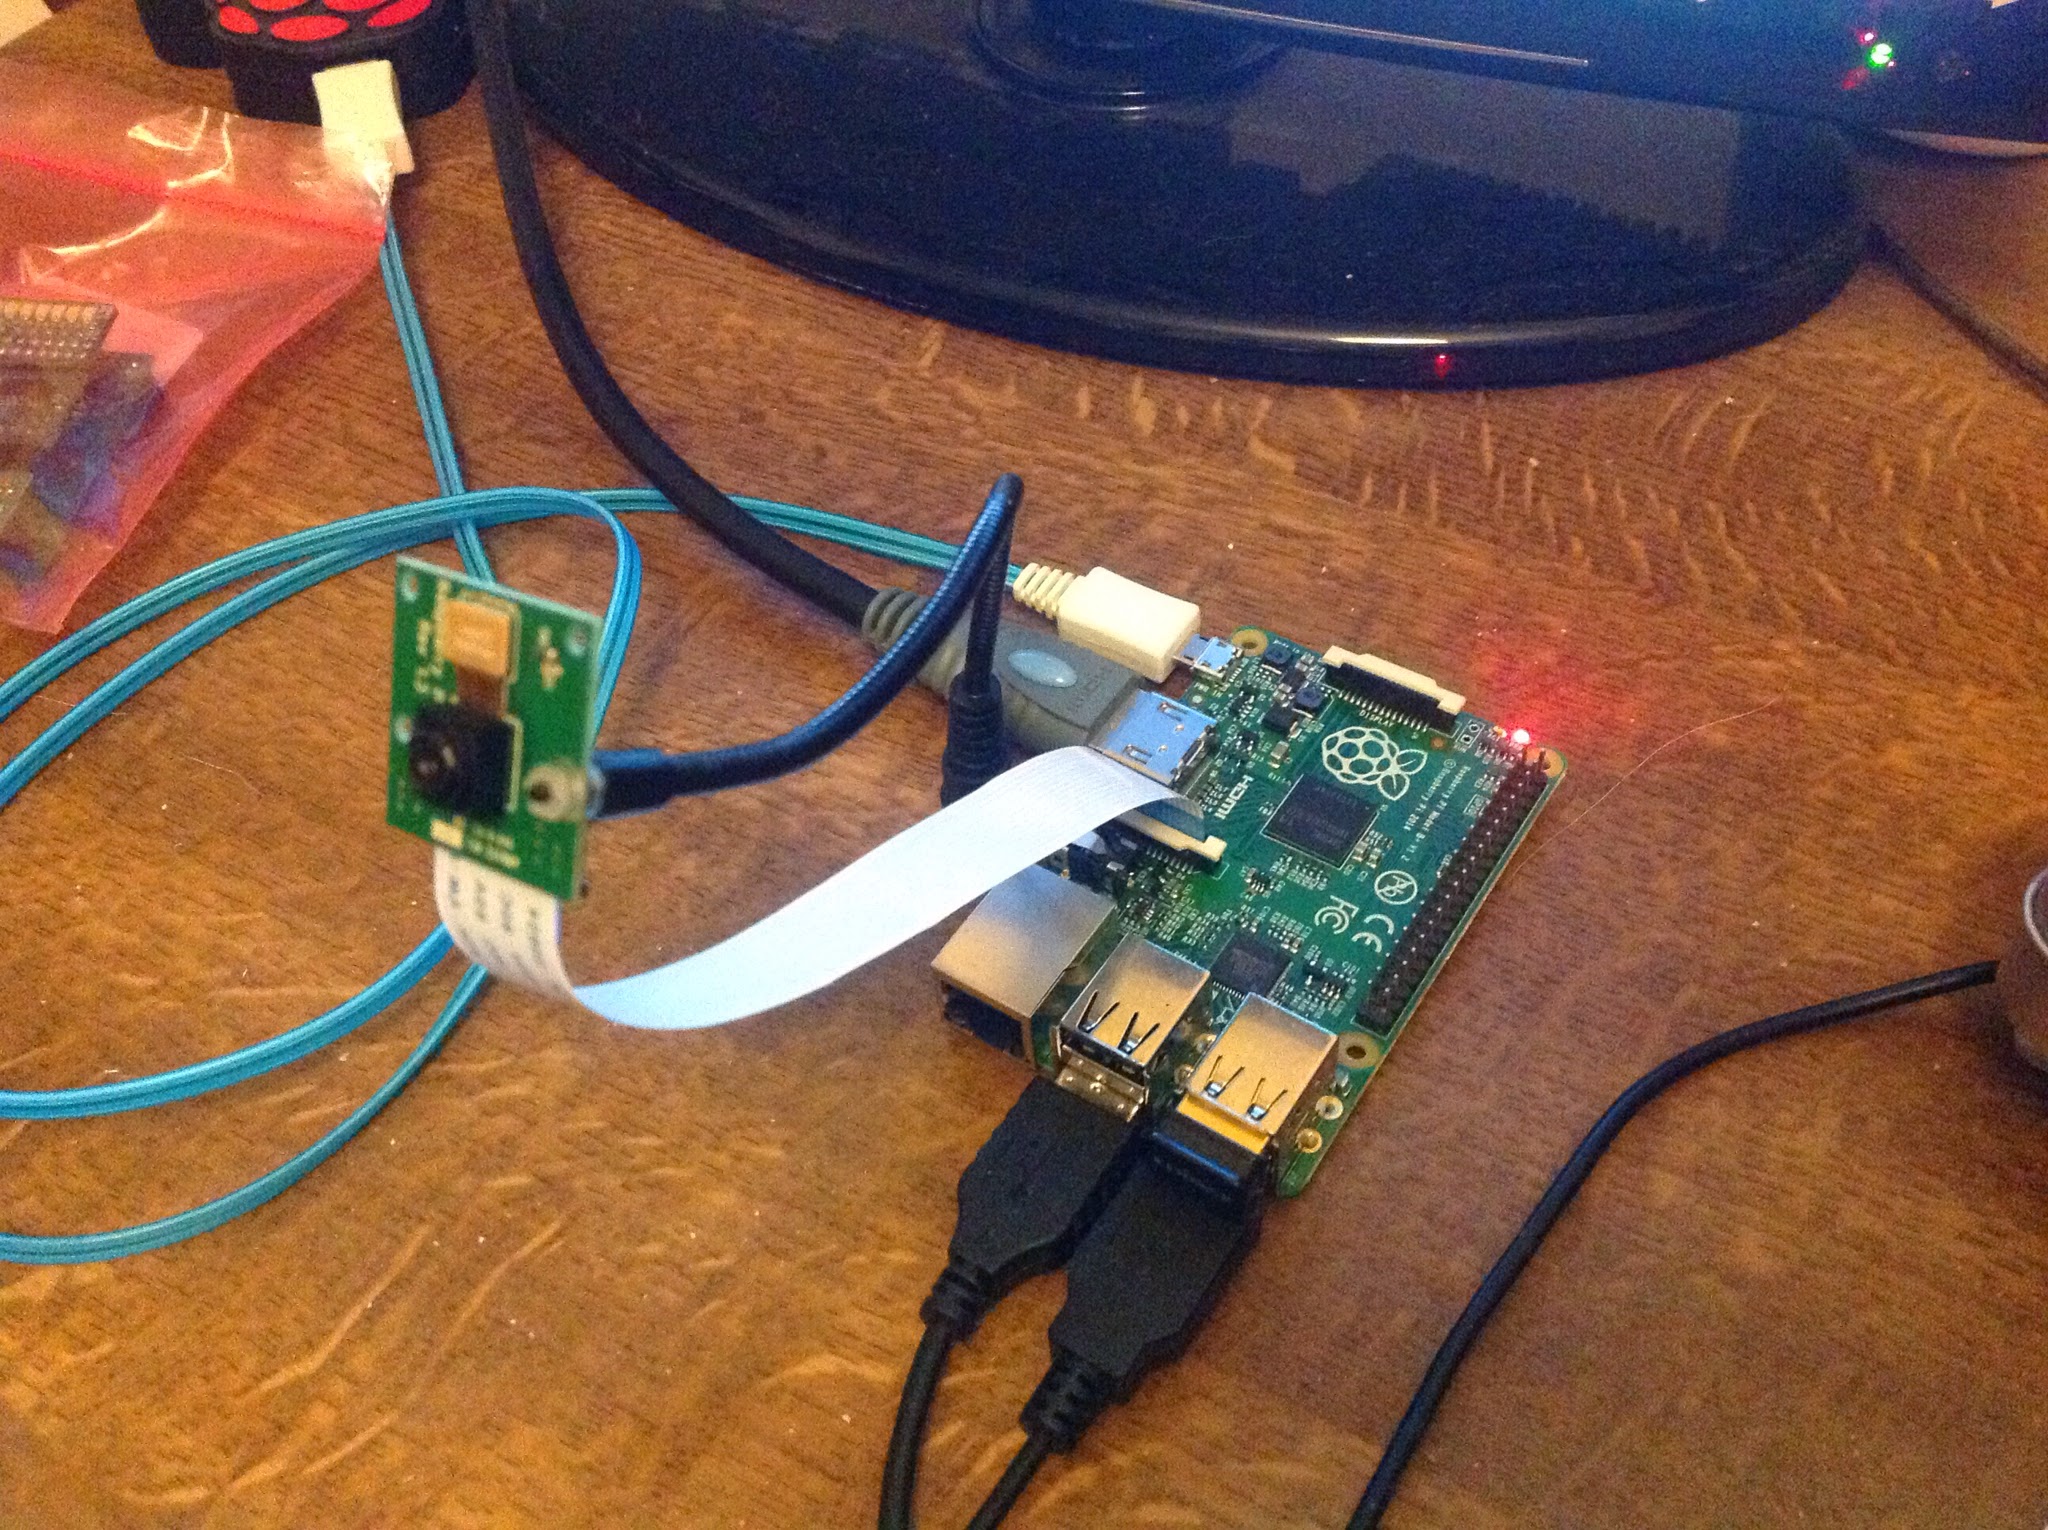
To start off with the B+ now has 4 USB ports. I like this change, it basically means a USB hub isn't needed for me to use my Pi with a mouse, keyboard and USB wifi card.

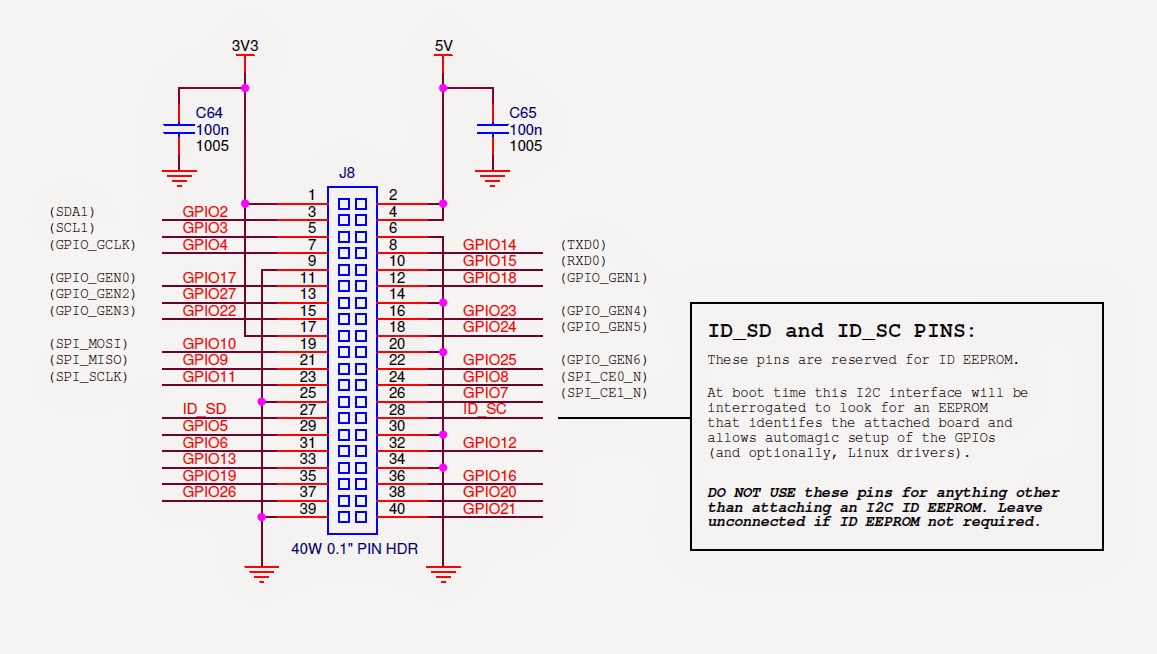
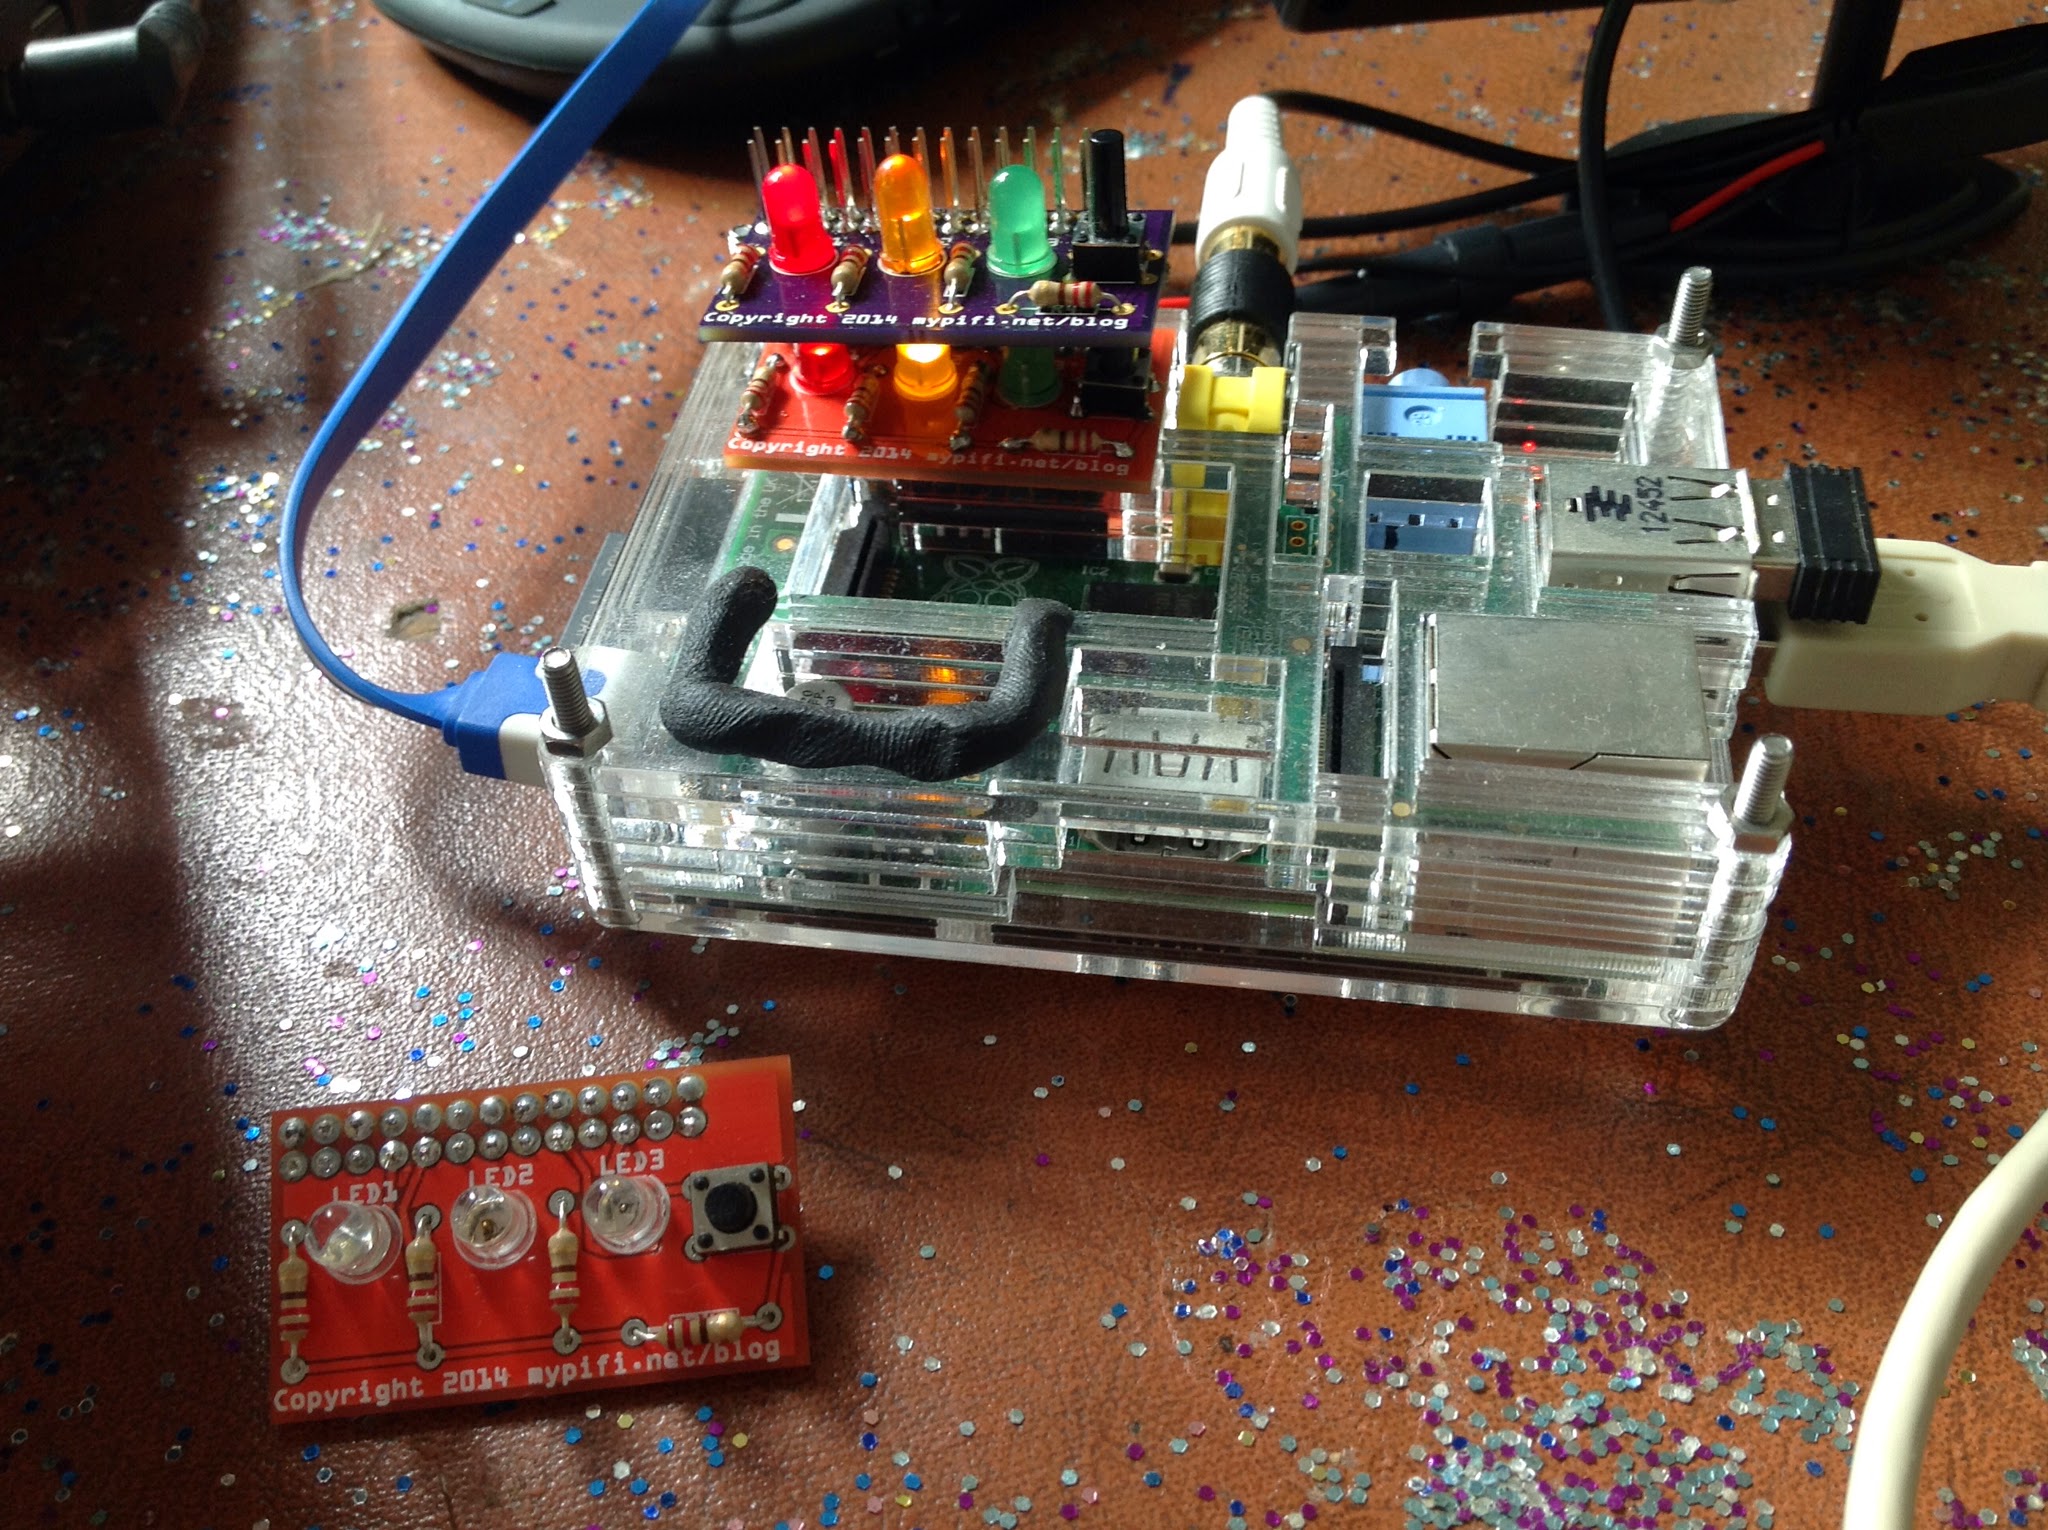
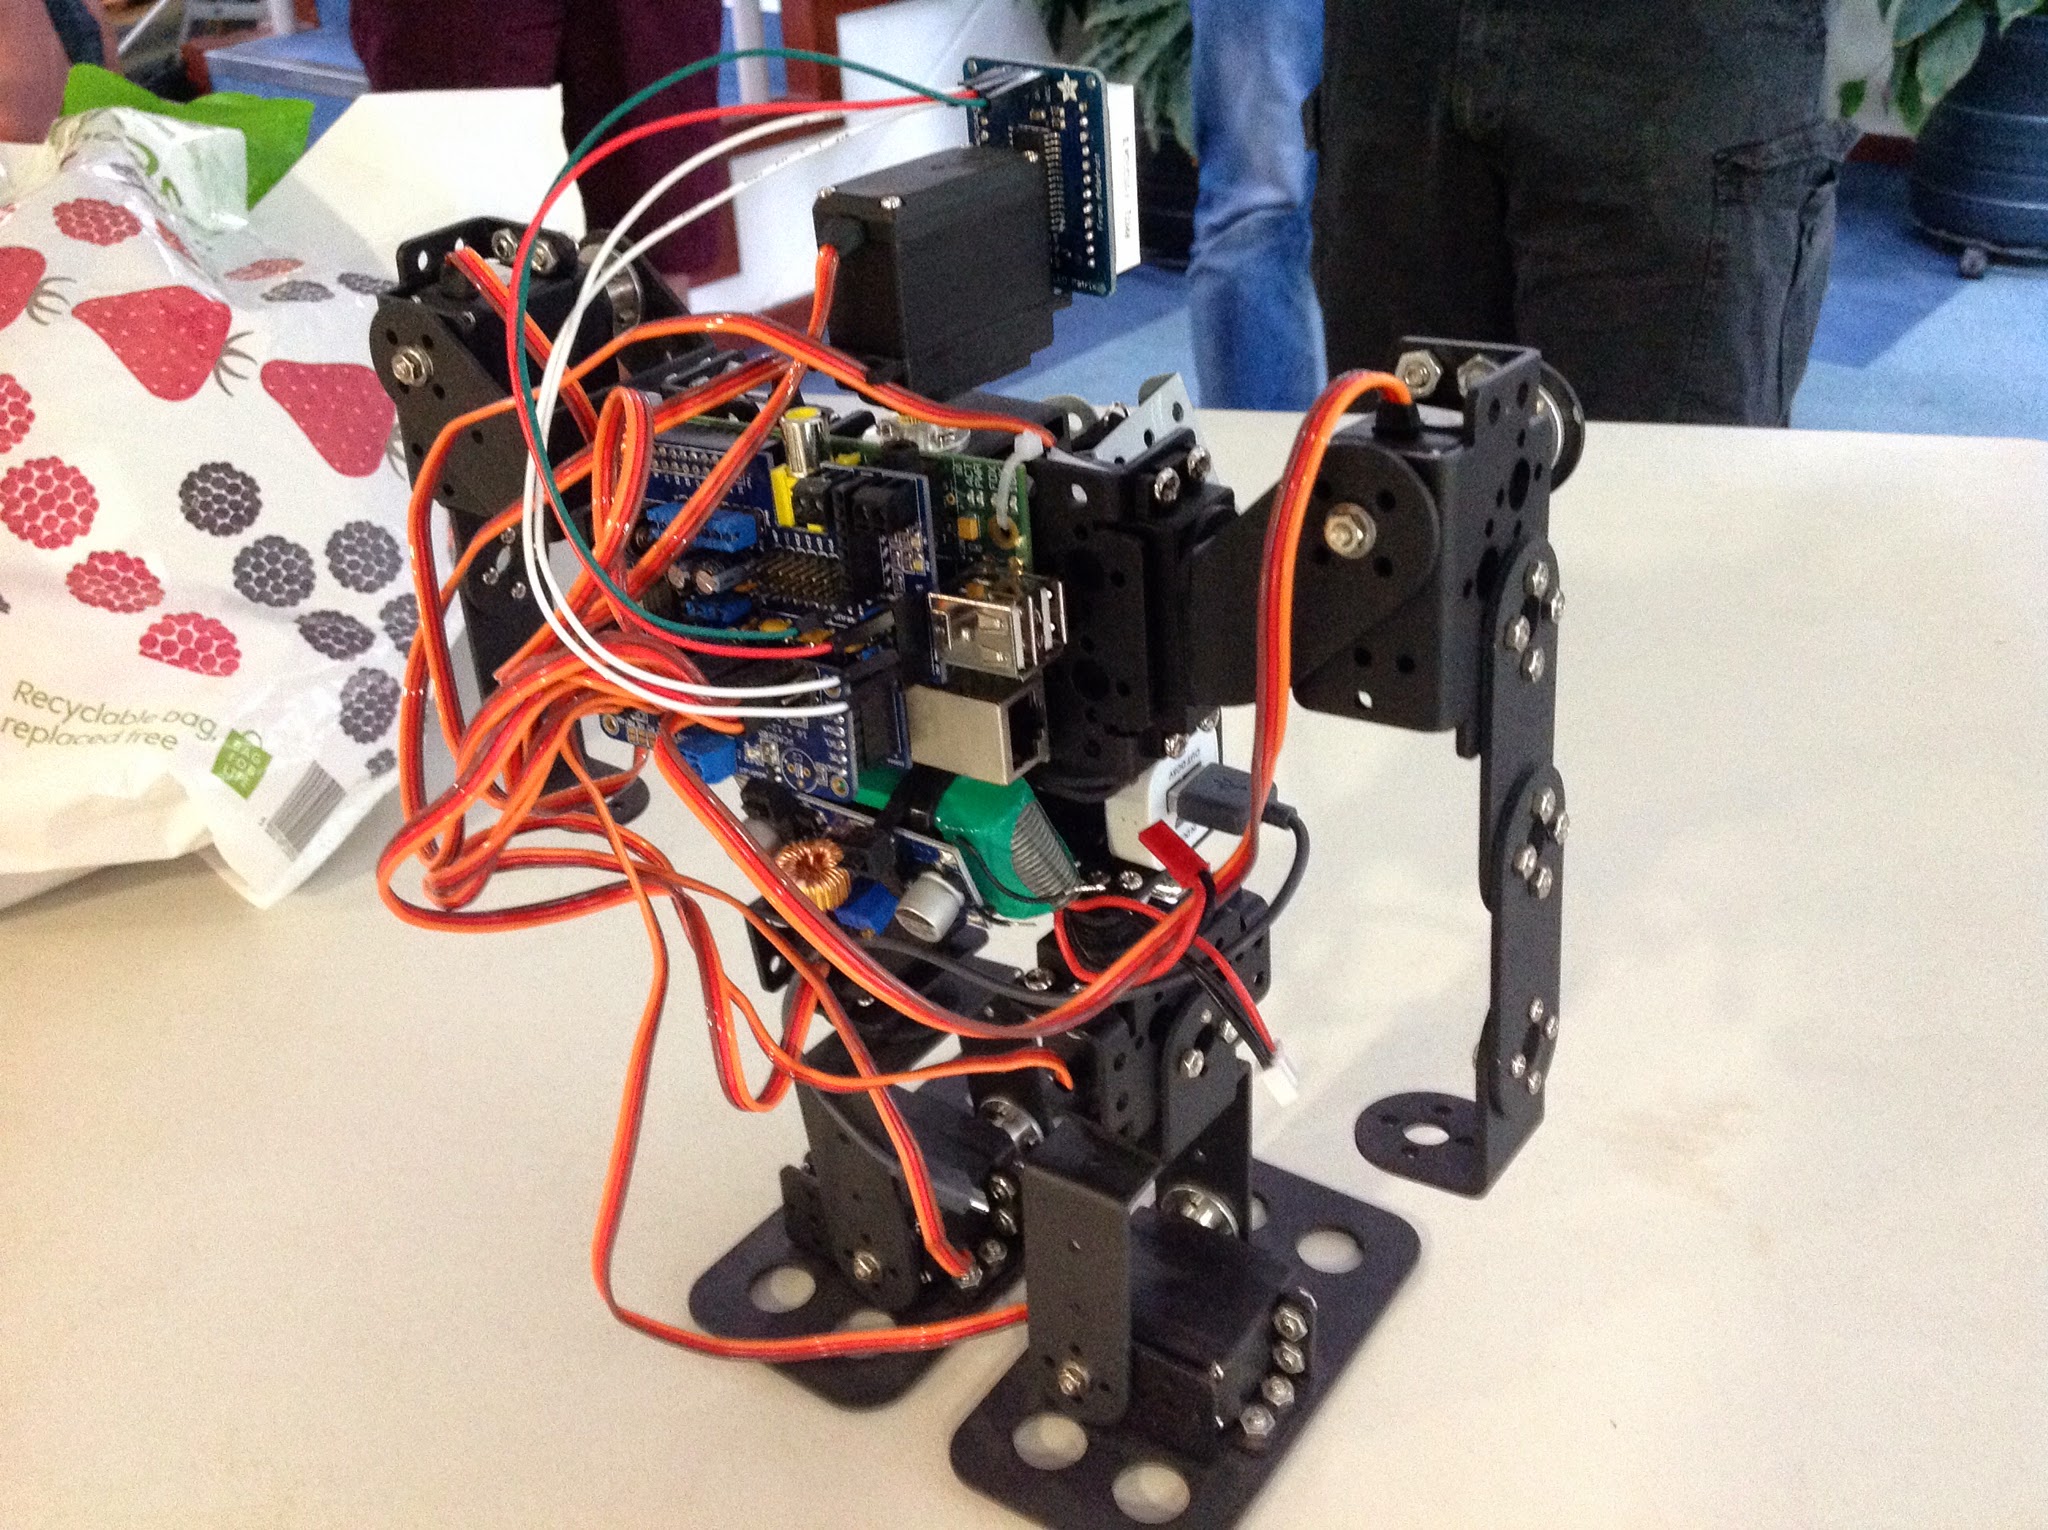
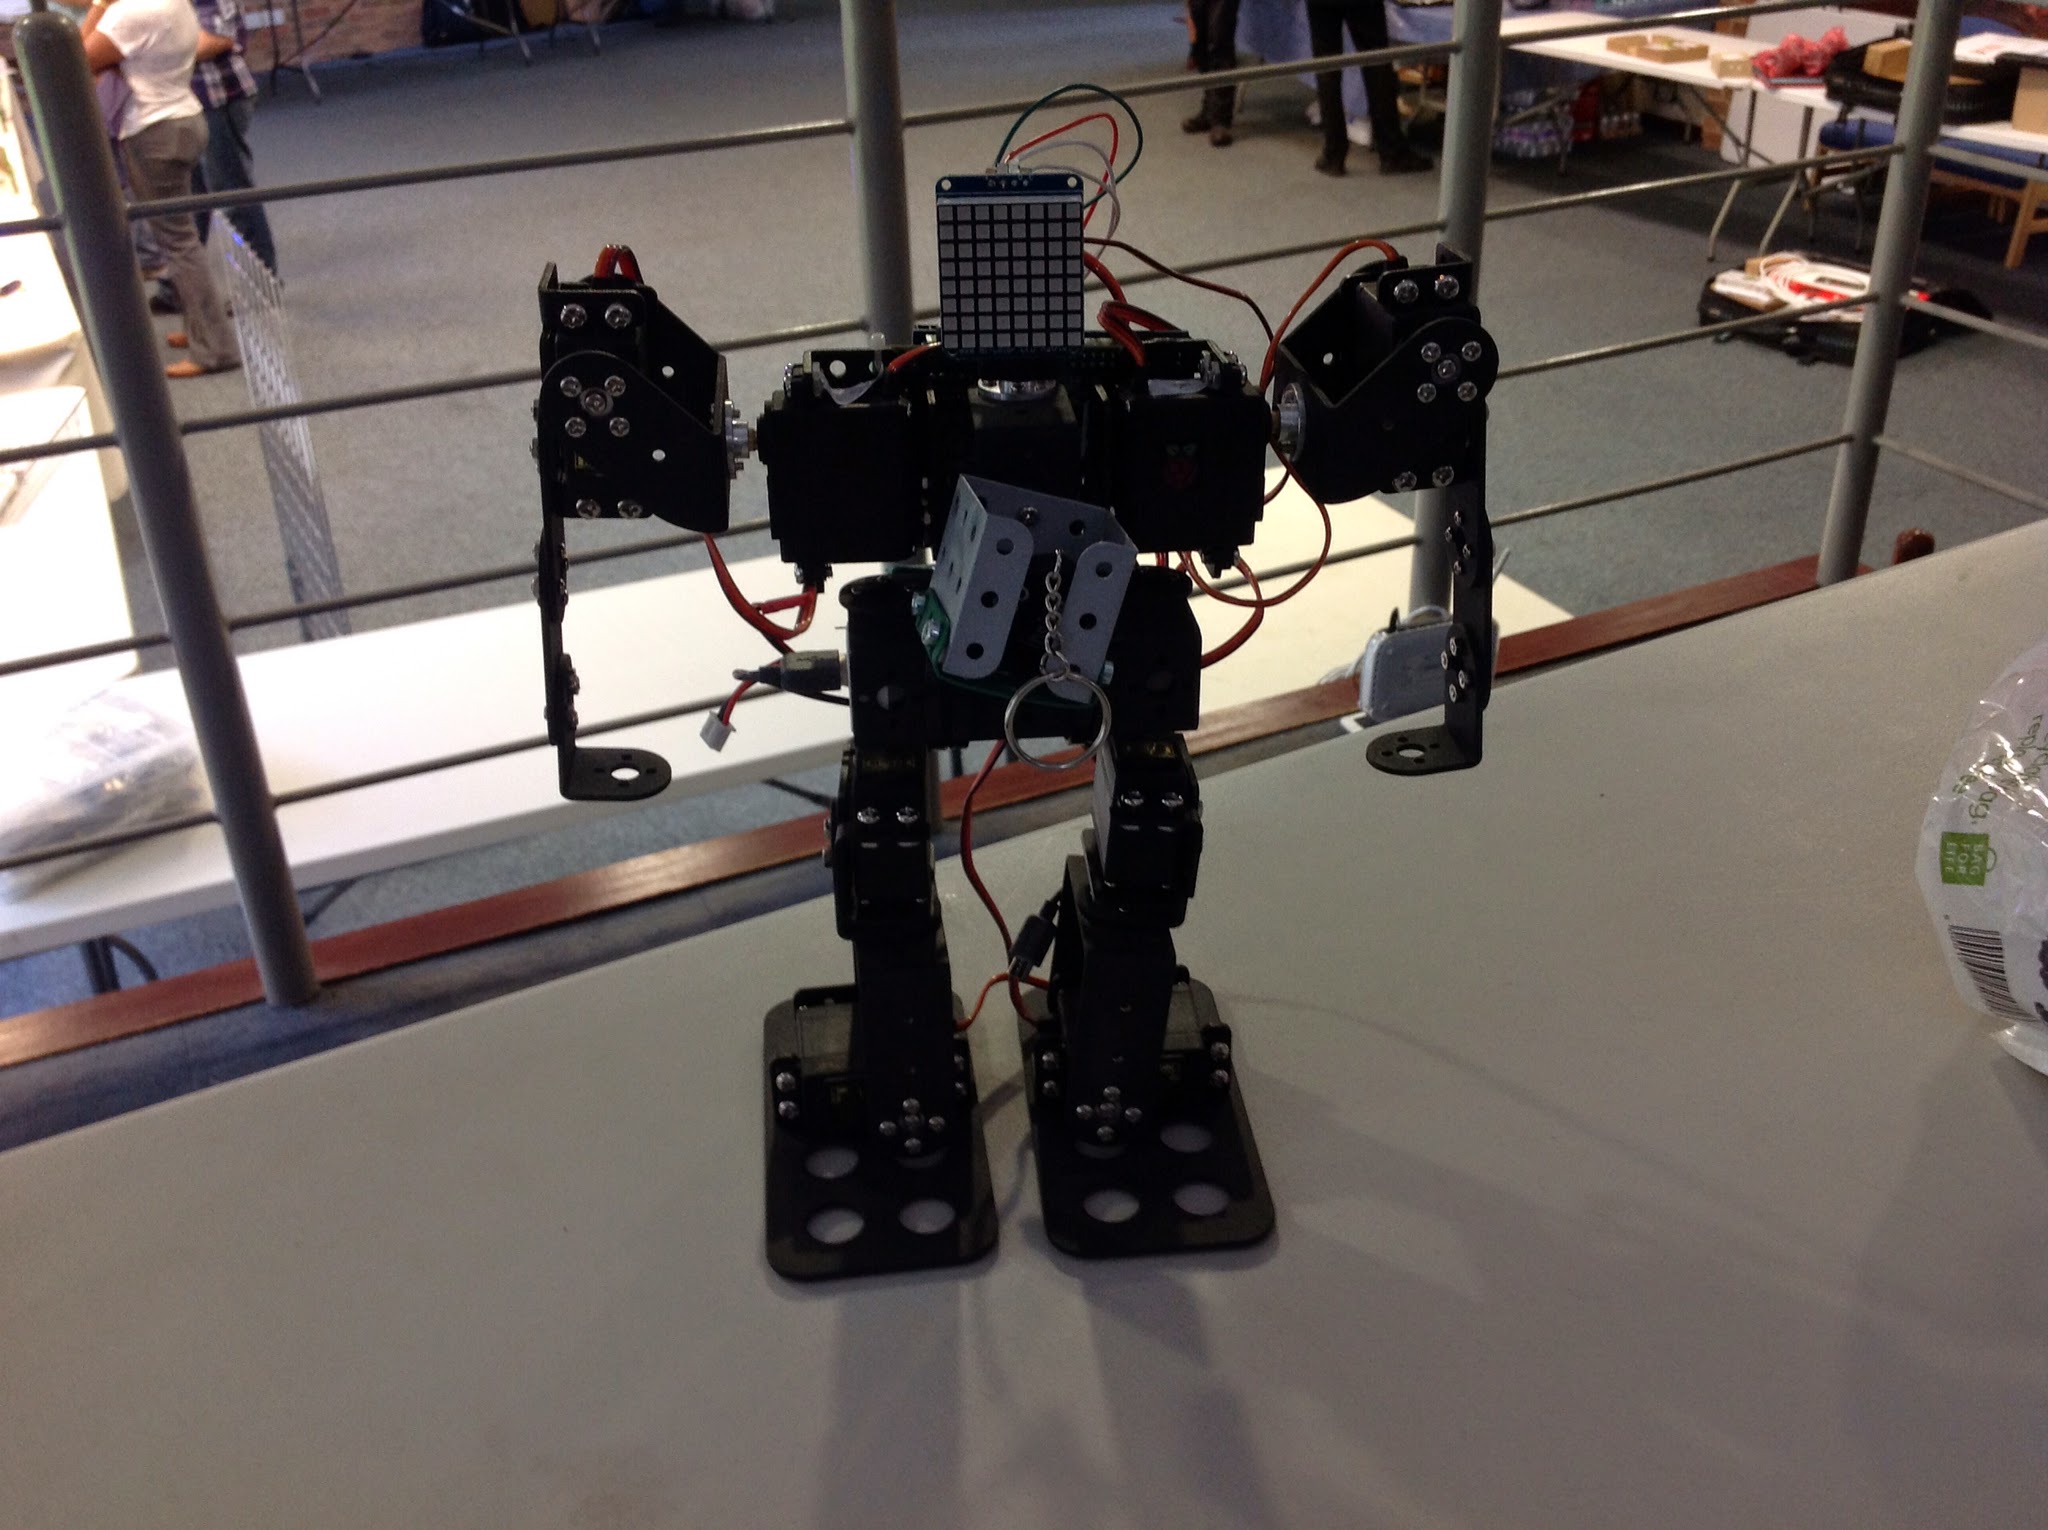
Next up the 26 pin GPIO has been beefed up to 40 pins. The first 26 pins are the same as before to keep compatibility with existing add on boards. Having said that, I am seeing reports that the add on boards are having problems fitting properly on the new GPIO. Plus this will be great for robotic projects, so you can guess what will be at the heart of me entry to Pi Wars in December.

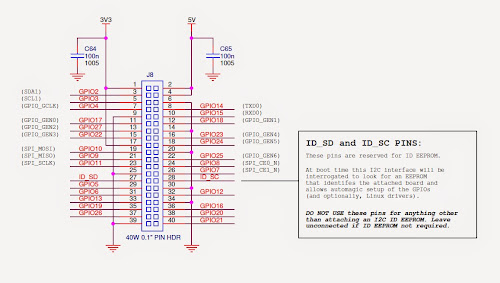
Taken from the Raspberry Pi org site

The SD slot has been replaced by a micro SD slot. I know the SD slot was an issue for some, with it breaking, and the card standing out. But for me it wasn't an issue. So I'm kind of indifferent with this one.

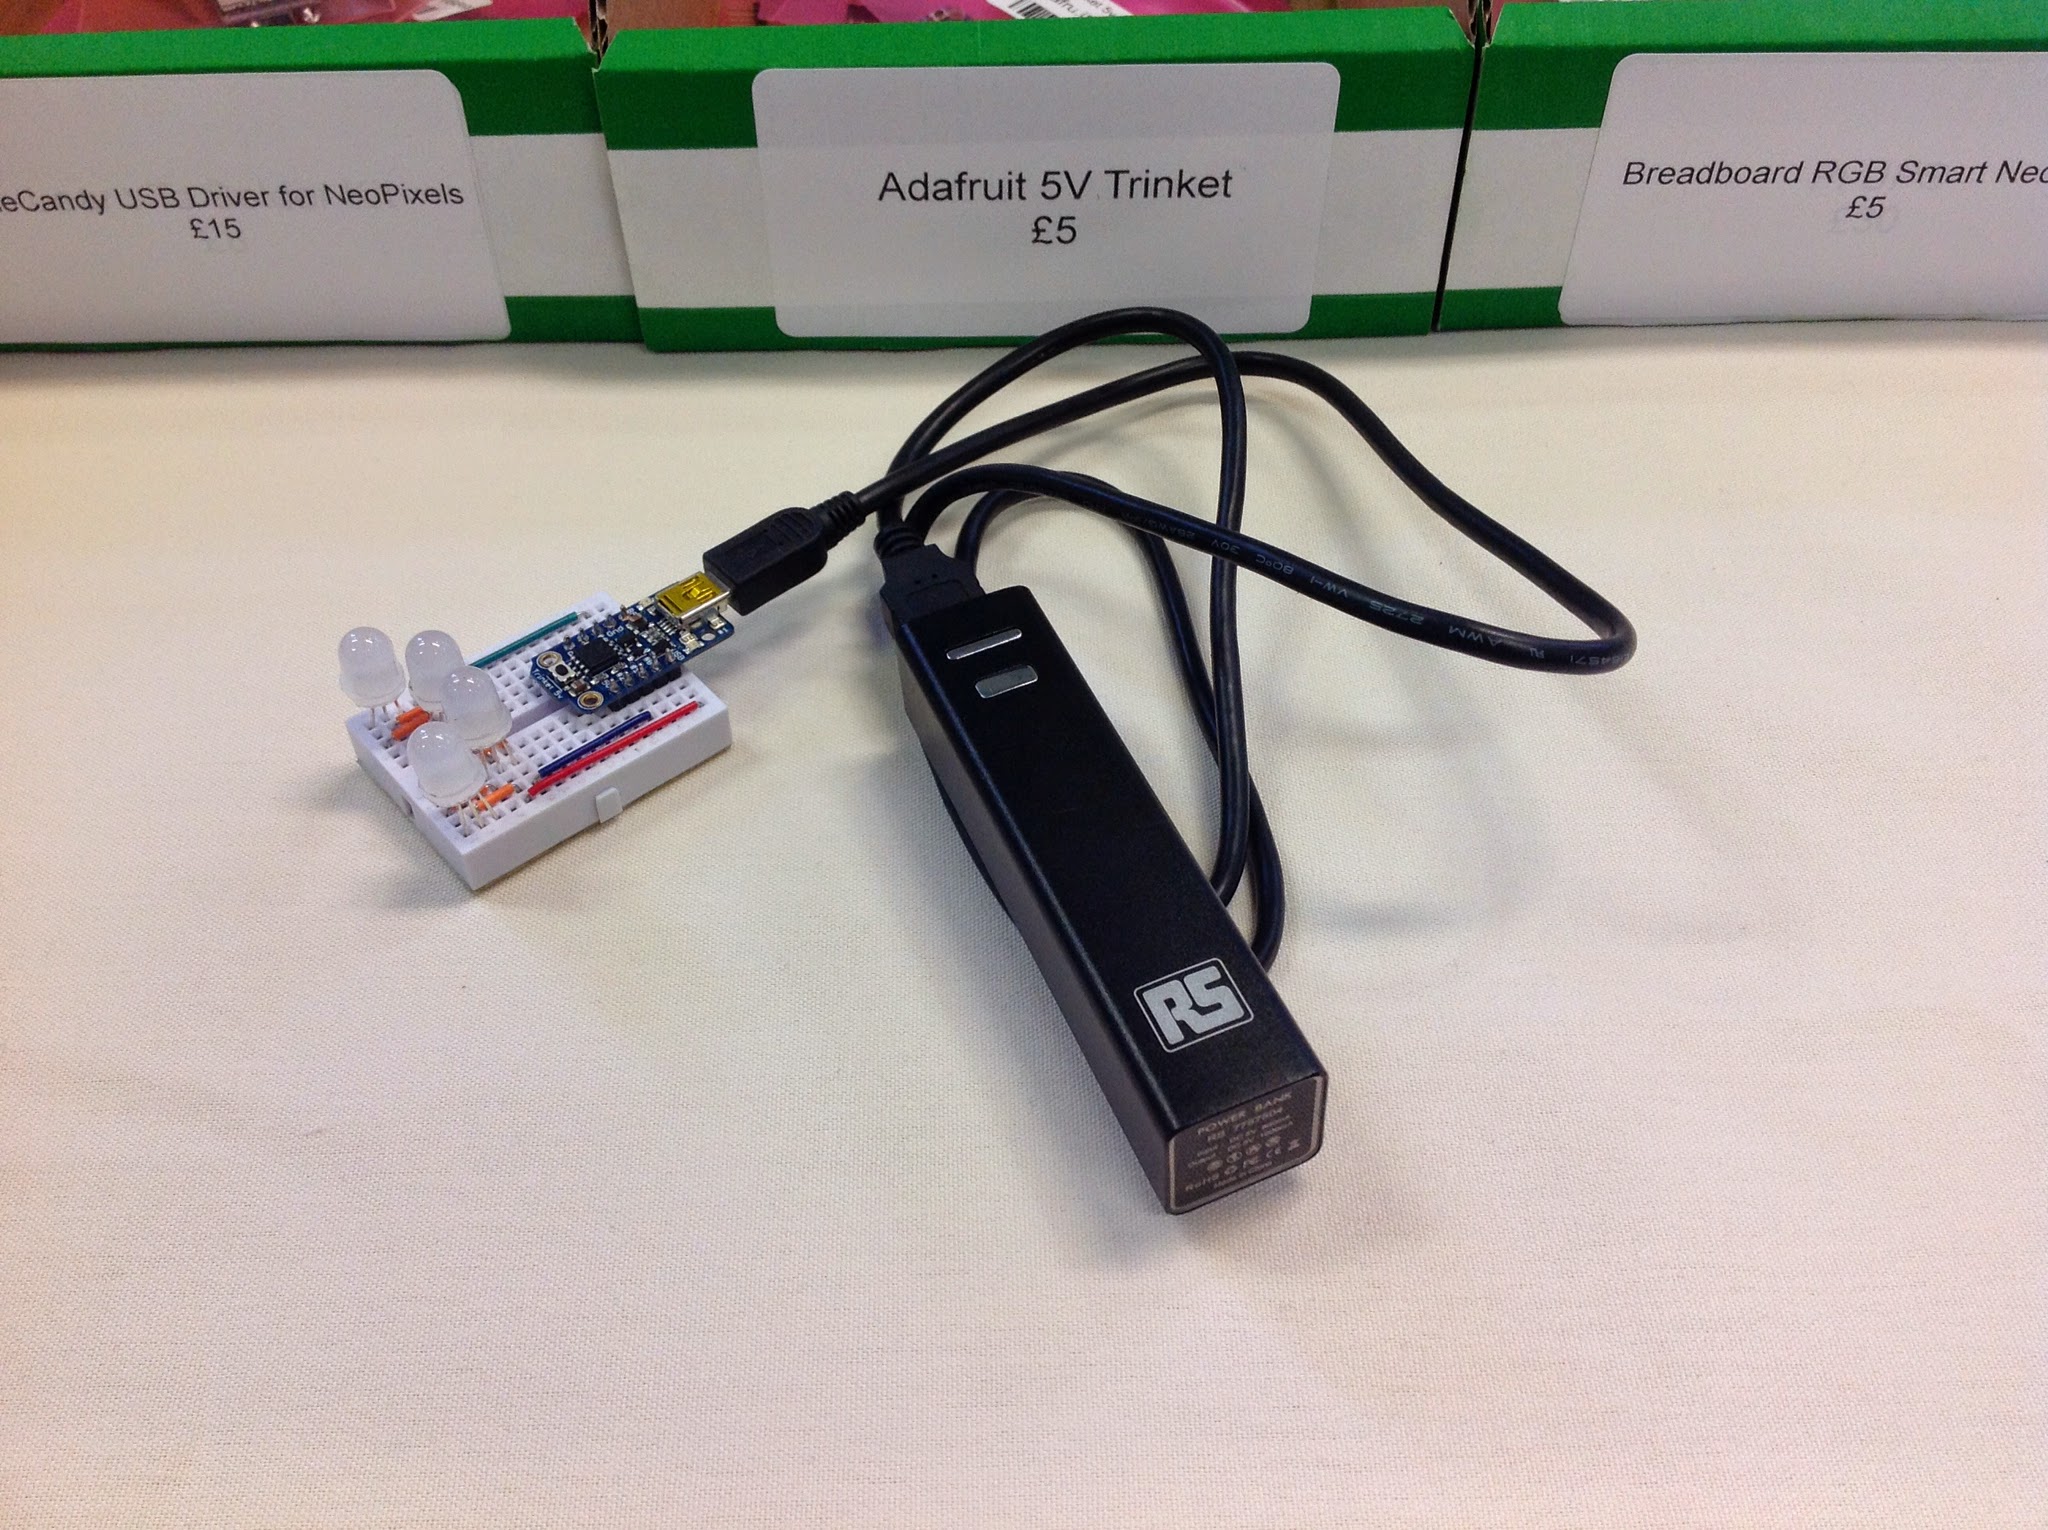
The B+ has lower power consumption. Great news for those that run their Pi's off external batteries, will mean longer running time (must test this theory) hopefully.

Audio has been improved apparently, another thing that was not an issue for me.

The separate composite video port has been removed, and combined into the 3.5mm jack. And there are now four mounting holes on the motherboard now. I do like the new layout of the ports on the B+.

The B+ still uses the same Broadcom System on a Chip (SoC) as previous model B's. So no improvement there. It would of been nice to have had a RAM increase and possibly a faster processor.

A plus point is that the price remains the same. So the B+ costs the same as the B at £30 (inc VAT).

UPDATE: forget to say because of the new layout you will also need a new case for the B+, the B ones are not compatable.

If this had been an Apple product the haters would be complaining big time that this is an incremental evolution and not a revolution. The Raspberry Pi Org started a mini revolution 2 years ago with the release of the Pi. Since then it has become the poster child of the reboot of computing in the British education system, of the Maker movement and home hobbyist. In the two years over 2 million units have been sold (although that's not 2 million users, many Pi owners own several Pi's - I have 6!), and competitors have entered the market. However the competitors haven't managed to capture the publics imagination or build up a community like the Pi to support them. Plus the Pi has a pretty healthy third party eco system supporting it providing add ons specifically aimed at the Pi. Well for me although mostly welcome changes have been made to the Pi. I think these should of been there since day one. Also it's disappointing that the SoC wasn't improved. I know folks will argue that they wanted to keep the price the same. There should of been a performance improvement made on this front and there wasn't. Apple I suppose have spoilt me, each new iPhone gives me a performance increase for the same money. So why not the same for the Pi? And that brings me back to the Apple statement I made at the start of this wrap up. I maybe a lone voice in the community that is saying nice but... I think that if this had been another company there would of been more criticism out there of this update to the Pi.

Having said that any new Pi's I will buy will be the B+ ( apparently the B will still be something you can buy, but given the choice I can't see why you would buy the B, and I expect this to disappear pretty quickly).

So in summary a welcome improvement but could of been much more.


Saturday 5 July 2014

CamJam July 2014

Well I'm at CamJam once more (dam early btw).
PiHut have setup already (9:50) and I've already made my first purchase of the day!
It's the CamJam EduKit for a fiver.
More frm The PiHut
Early show and tell stuff
Above MyPiFi that was just successfully funded on Kickstarter I believe.
Above and below a portable Pi, full keyboard (no mouse) took about a month to build and is designed just for coding so terminal mode only (real coders use text interfaces not GUIs).
The Tiddly Bot is showing this


Above the PiTrol with it's finished pcb
Below RasPi.TV
Below Pridopia showing their wares.

Had a look at their guide/manual and it's blooming awful. Needs a lot of work especially as aimed at kids.
Above in the show tell area a pi collecting the sensor data, sending off to a remote server to do the hard processing then controlling the robotic arm to pick up the block! UPDATE! Just found out this has the code name of Project Claude and there are already "plans" for a Claude 2.
You have already seen the photos of the CamJam EduKit (at top of post) and what wasn't said and only announced minutes ago as I write this, is that all profits go towards CamJam. Which is pretty cool. Other news PiWars - 6th December, September CamJam robotics special. Two categories of robots below £75, and over £75 including the cost of the Pi. All robots to be controlled by a Pi and must have a foot print less than an A3 piece of paper. Full list of competitions for robots to enter to be announced on 1st August, but will include straight line speed test, follow a line, texture obstical course, sumo battle, artistic merit, and will be points based to decide overall winner.